The front of the house was a bit of a blank canvas at the end of my last post and this post is all about adding the detailing.
Adding brick quoining was the first step and this immediately started to bring the house to life.
I used the Tri-ang reproduction brick paper available from Trevor Cain stuck on with a Pritt.
I also used this image from the Dolls' Houses Past and Present Tri-ang database as a guide as to where it should go and how many bricks wide the quoining should be, though it turned out that the size of the gaps around the windows of my house were different and I had to adapt everything to that. This actually made no logical sense in terms of how wide each piece was and in the end, I gave up on logic and went with getting it to look right visually! The bits around the curved pillars on the first floor were the trickiest.
Next came the bit I'd been dreading - the lining. I've done this before for other restorations using gold paint and I know how tricky it is. This would be the first time I'd done red on cream which it seemed to me would show up any mistakes. Big time.
I settled on DecoArt 'Deep Red' acrylic paint as a match for the red detailing I'd found during my explorations to find the original layers of paint. It also tones very well with the red of the roof, brick quoining, and the base of the house and is not too bright.
With this image image of a DH/5 with very similar original detailing, together with my sketch (shown in my last post) of where the lining should go, and a deep breath, I was ready to go.
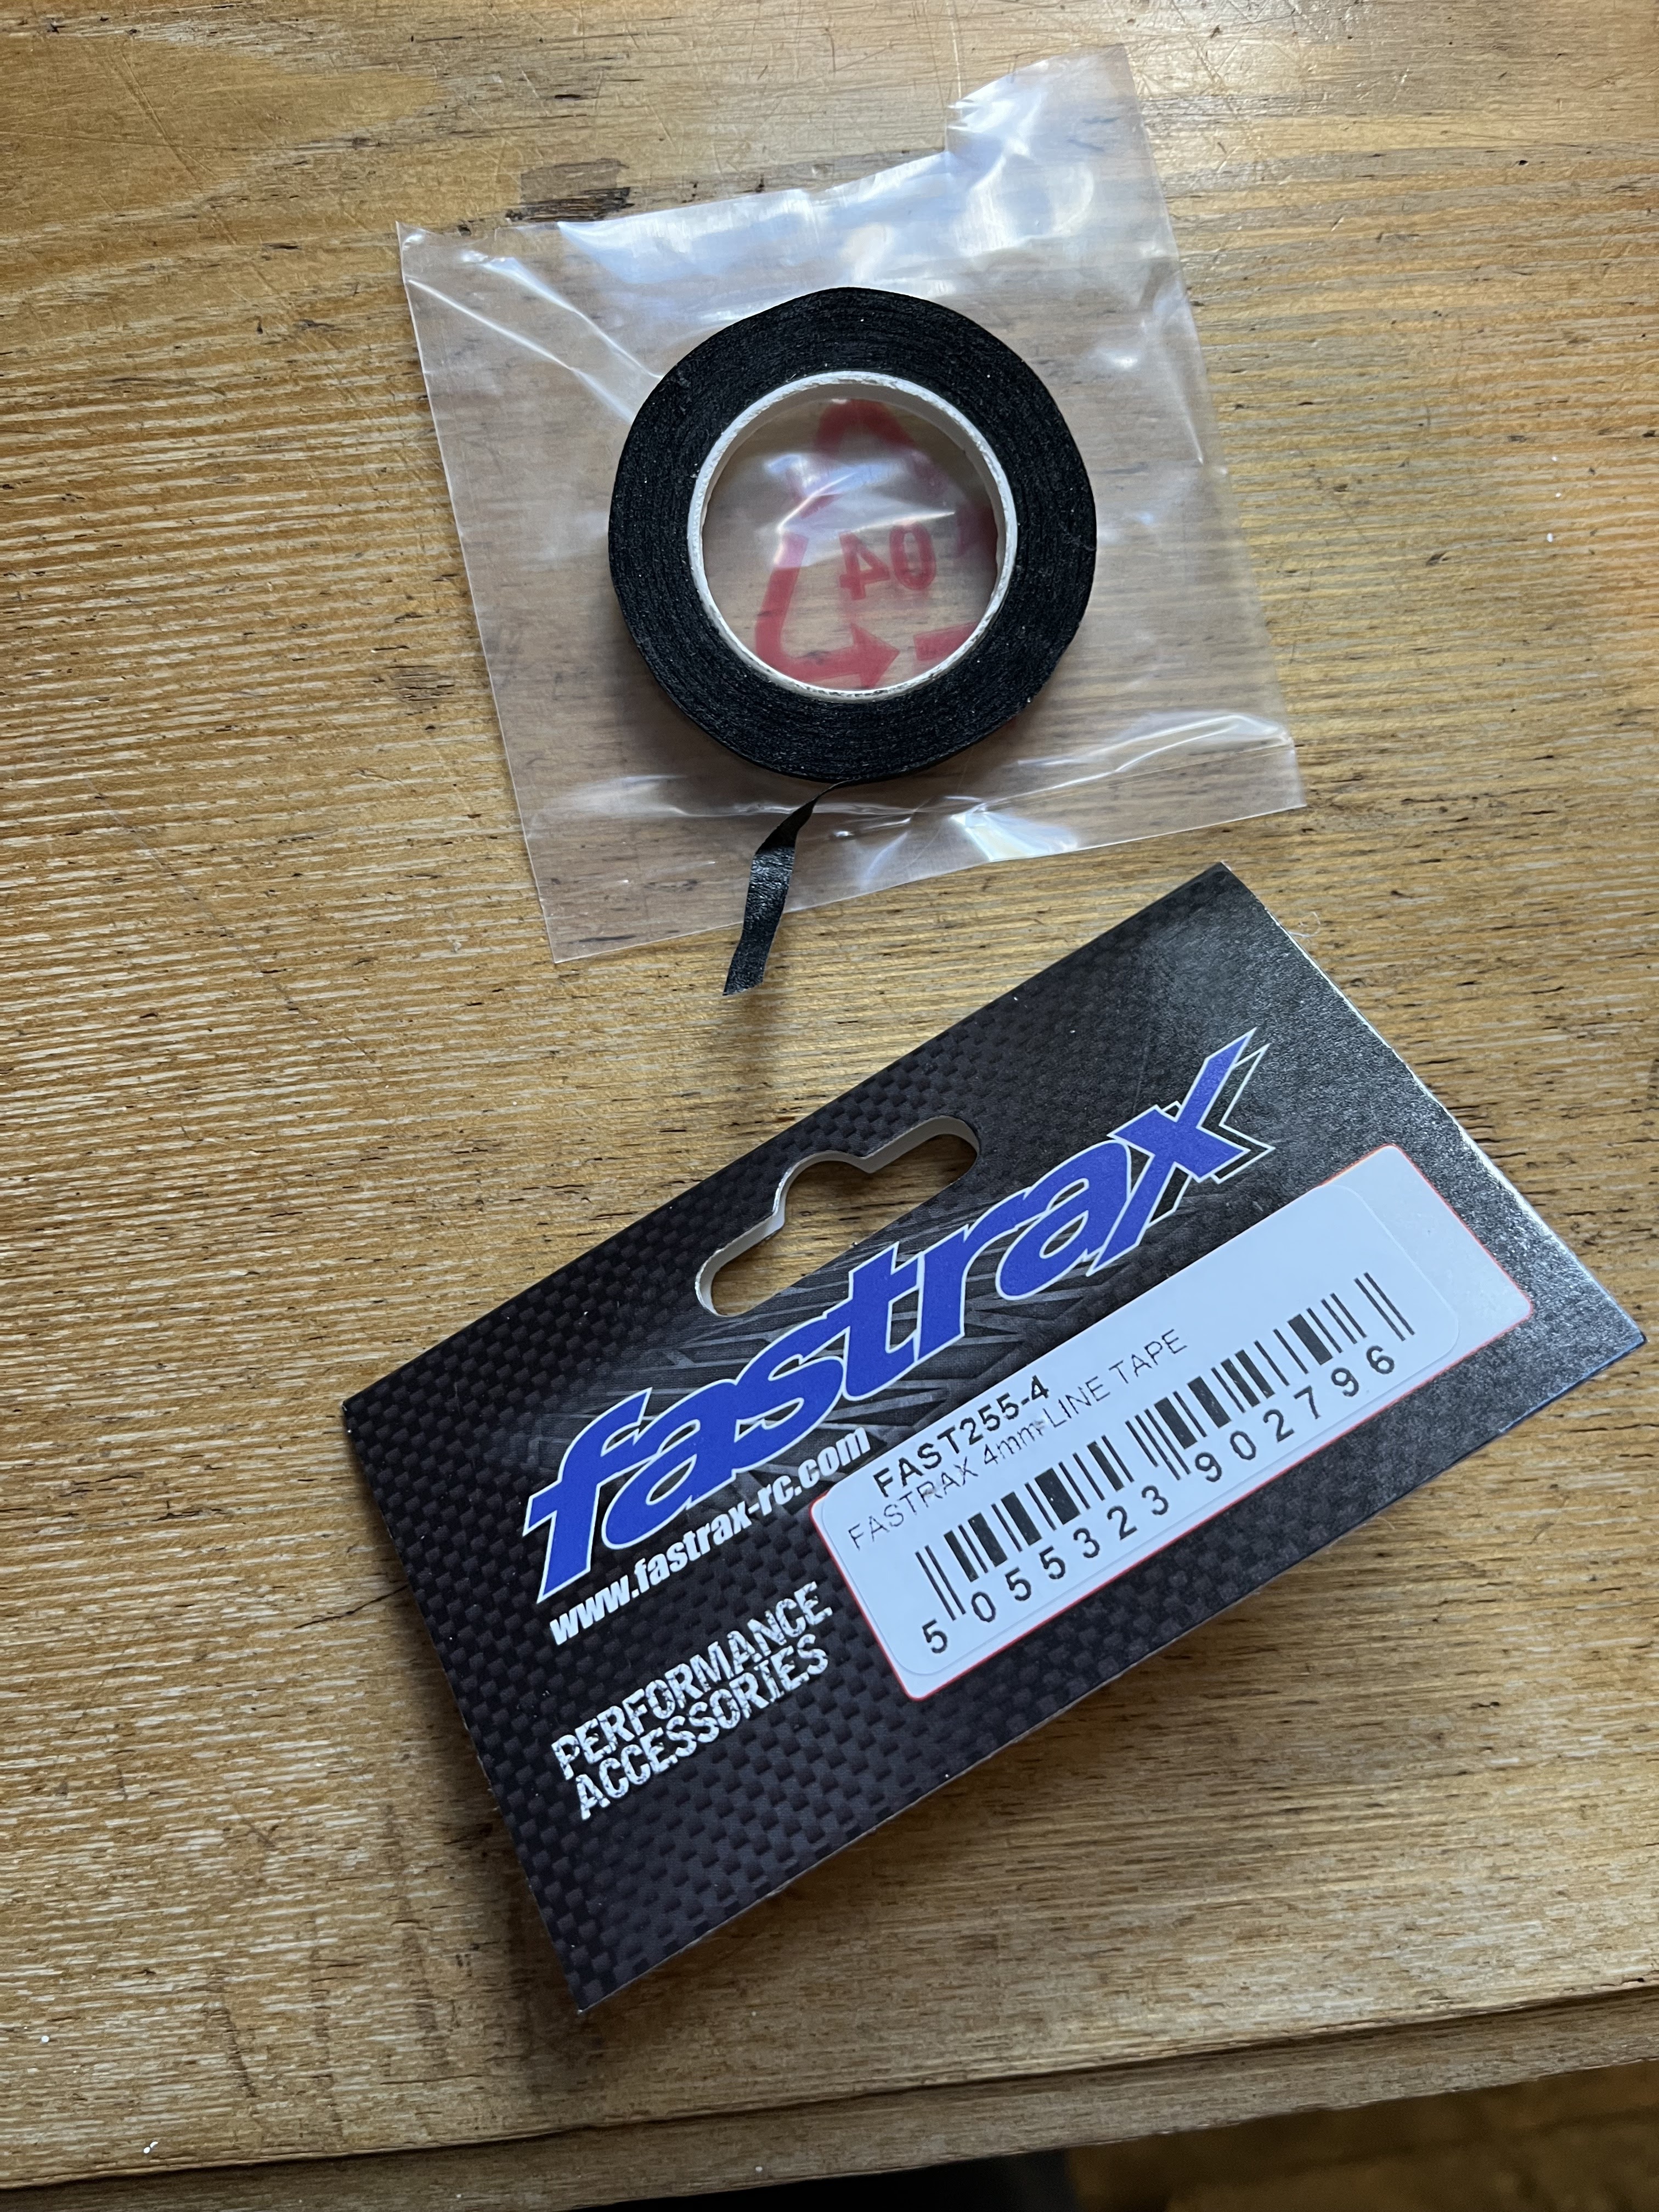
Not particularly recommended for this particular job!
My husband, a model railway enthusiast, suggested using a modeller's masking tape and I sent for this 4mm tape in a 10m roll, though as you'll see, I wouldn't particularly recommend it.....
I started by carefully masking off a few of the areas I wanted to line and painted them with the Deep Red acrylic. When dry, I could see that they needed a second coat.
Aargh!
Then moment of truth. The masking tape came off and the line had bled terribly!
I was so pleased that I'd given my cream paint a finishing layer of Humbrol Matt Cote because it meant that I could use the folded edge of a very slightly damp tissue to tidy up the edges of the line. It was a bit of a faff but it worked ok.
I did continue to persevere with the lining tape because I felt that the free-hand alternative would be much worse and I did get better at it by painting very carefully within the masking tape, almost trying to paint between the lines, and not having too much paint on my brush.
Wiping away any bleeding with the folded edge of a slightly damp tissue continued to work well. I found that doing this when the second coat of paint was almost but not quite dry worked best. I gave all of the lining two coats of paint before removing the tape.
I find that it's always worth taking a look at examples of houses in original condition at times like this because it's actually quite encouraging to see just how imperfect they are too!
A footnote to the masking tape 'adventure'. Lining the front used up the whole of the 10m roll of tape I'd bought and I still had a few areas to do when it ran out. "Oh," says my husband, "I've got some you can use but it's not very good." Not very encouraging I thought, but better than nothing.
The few remaining areas were taped up with this new 6mm Tamiya tape and....
..... it was SO much better than the other one! Nowhere near as much bleeding!!
Tamiya 6mm masking tape - recommended for this job!
Ah well. You live and learn.
So, here is the house all quoined and lined. I'm very pleased with how it's shaping up and my initial misgivings about the red theme have completely turned around and I now love it!
I have yet to replace the balconies which I removed at the beginning of the process to make it easier to work on the the front of the house, but that's for my next post.
Until next time,
Zoe


Very smart look indeed.
ReplyDeleteAn alternative is to paint up/print a sheet of good paper in the shade you want and apply strips of coloured paper(?) or even thin card. The masking tape bleed drives me crazy 'cos there's always just going to be some somewhere.
What a good idea! Alas, “too late” was the cry….Though my purist tendencies are probably too strong. 🤔
ReplyDeleteAnd quite right too. I ever was the cheat at these things :)
DeleteThis is superb! Love the red, andyour bricks and lines are phenomenally good 😊
ReplyDeleteEdel x